
5 Must Have Items In Every Trauma First Aid Kit
How To Assemble Your Own Kit From Scratch
Whether you're a teacher, parent, construction worker, or anything else— having the first aid supplies to save a life is never a bad idea. If you want to build your kit without spending the extra money to have one made for you, you need to have a good idea of what to put into your trauma kit. Firstly, you'll need some type of bag or container. A designated bag that has a patch or sticker that says "MED," "IFAK," or just "First Aid Kit" is a great place to start. However, you don't need to be super fancy. A large sized zip lock bag will do just fine. The three considerations you need to think about when you get a bag/ container for your supplies are accessibility, mobility, and practicality. It needs to be something that you could reasonably have with you most of the time. You look cool with your "tacticool" operator ruck sack filled with 30lbs of equipment, but it's hard to move with and doesn't serve you well in the long term. Once you have something to put all of your stuff in, you can start looking at actual life saving equipment. The algorithm you should always apply when buying these supplies is M.A.R.C.H. (Massive hemorrhage, Airway, Respiration, Circulation, and Hypothermia).
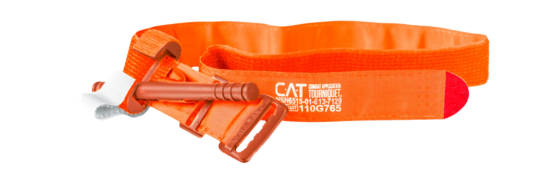
1. Tourniquet
Following the M.A.R.C.H. algorithm, a tourniquet is the first thing you should consider. This should be the easiest thing to access in your bag. Some IFAKs (Individual First Aid Kits) have places to mount tourniquets on the outside of the bag. In case you are new to trauma first aid, a tourniquet is designed to stop major arterial bleeding in an extremity (arm or leg). I personally recommend a tourniquet that is TCCC certified. The biggest thing to consider is that you are buying an original tourniquet from a reputable company. My favorite tourniquets include: the CAT, X8T, SOFT-T W, and TMT.
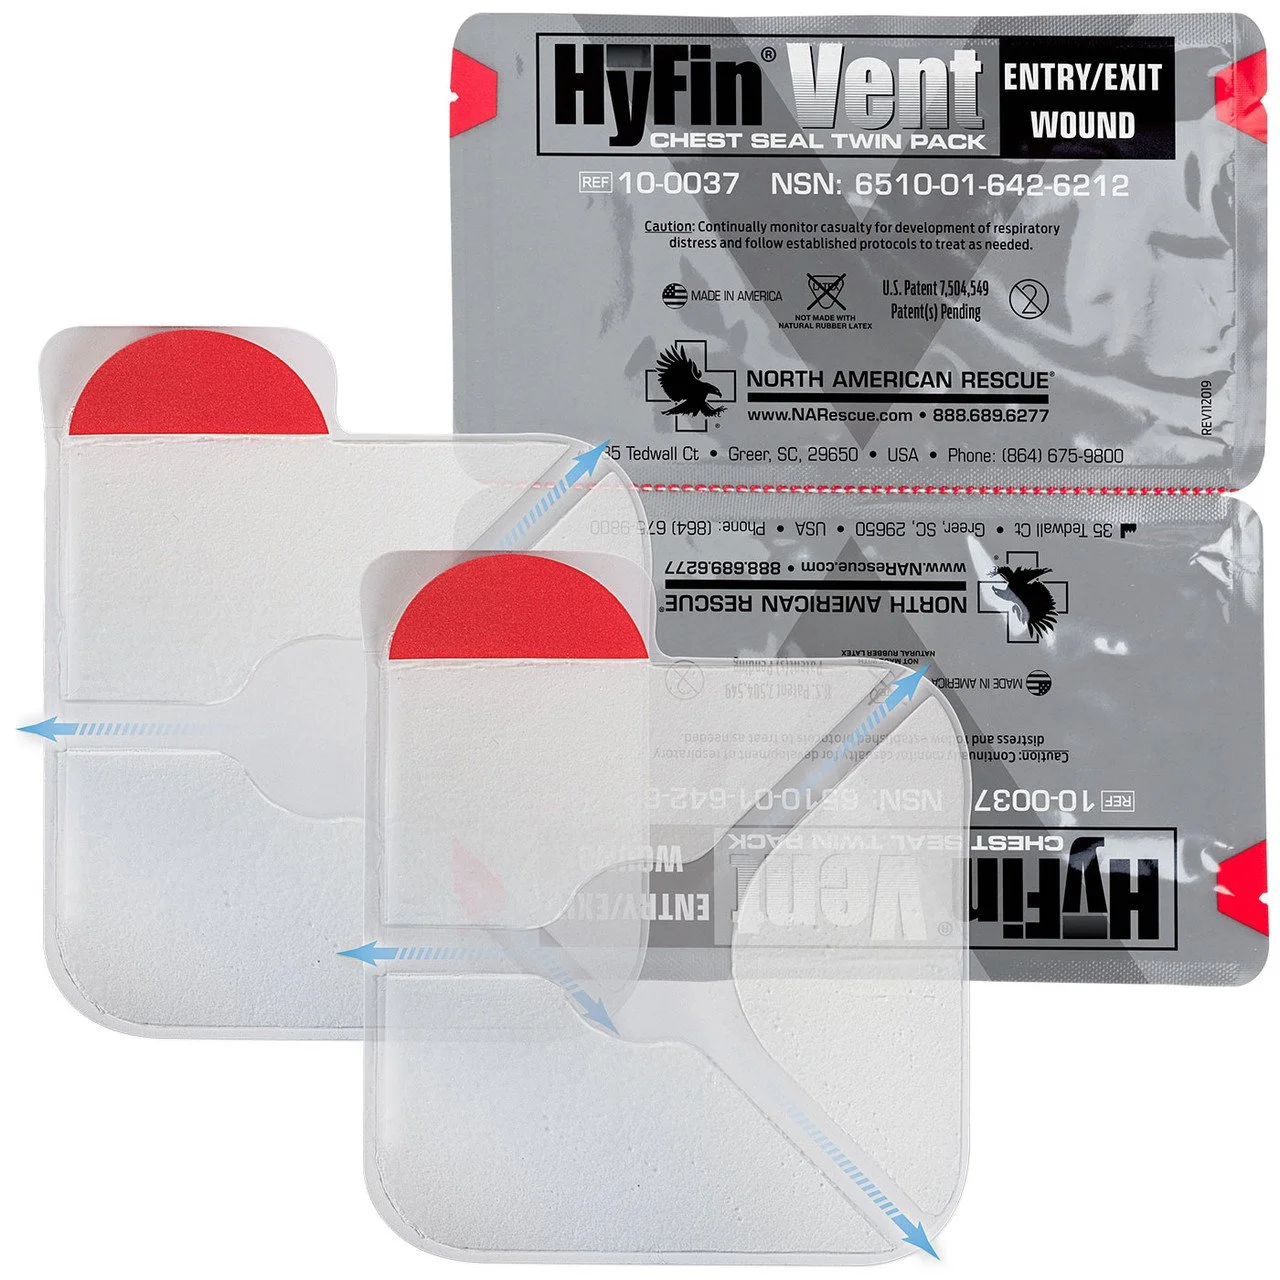
2. Chest Seals
Next in the M.A.R.C.H. algorithm is circulation, which is where chest seals get involved. To keep it simple, a chest seal is applied to stop a sucking chest wound. This prevents a tension pneumothorax, which is a fancy medical way of saying a build-up of air in the chest cavity that builds up enough pressure to cause death. It should be noted that we skipped the airway portion of M.A.R.C.H. because at a basic trauma first aid level there is not equipment to secure an airway. We did a video that explains how to use all of the equipment mentioned in this article which is linked at the bottom of this page. Some good chest seals are the HyFin Vent by North American Rescue, and Sentinel Chest Seals by Safeguard Medical.
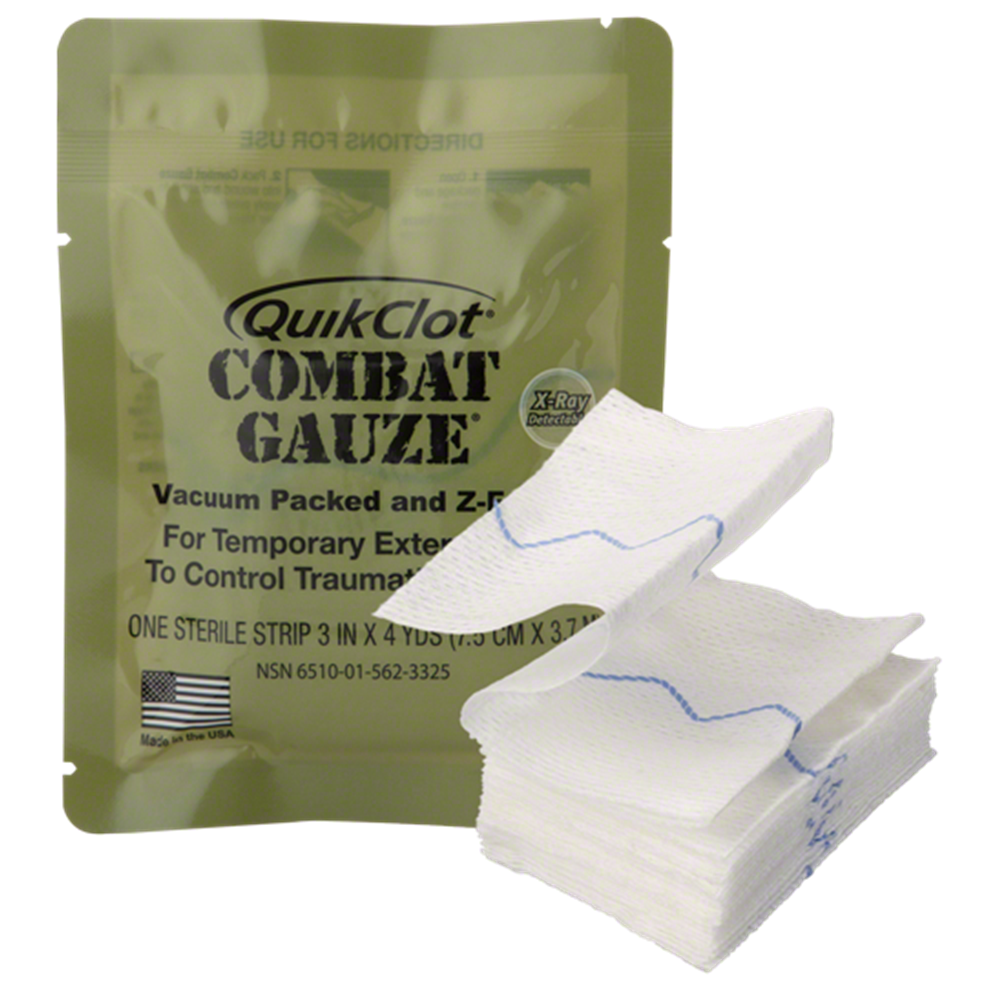
3. Gauze (Hemostatic vs. Standard)
Moving into the respirations portion of M.A.R.C.H. this is where we will address all minor bleeds around the body. However, you may be using gauze earlier than this if you have a significant amount of bleeding in a junctional area that cannot be stopped by a tourniquet. These are around the pelvic girdle (around the hips), the shoulders, as well of the sides of the neck and head. When finding your gauze you will be getting hemostatic gauze, standard packing gauze, or more commonly a mixture between the two. Hemostatic gauze is a type of gauze that stops bleeding faster by clotting blood. We will be releasing a more in depth article about the difference between hemostatic and non hemostatic gauze later, but you should remember that you don't need hemostat always. It's greater than ten times more expensive than its standard counterpart. At the end of the day pressure stops bleeding. You will need a lot more gauze than you think you do. It is better to have sixteen packs of regular packing gauze than one pack of hemostatic gauze.
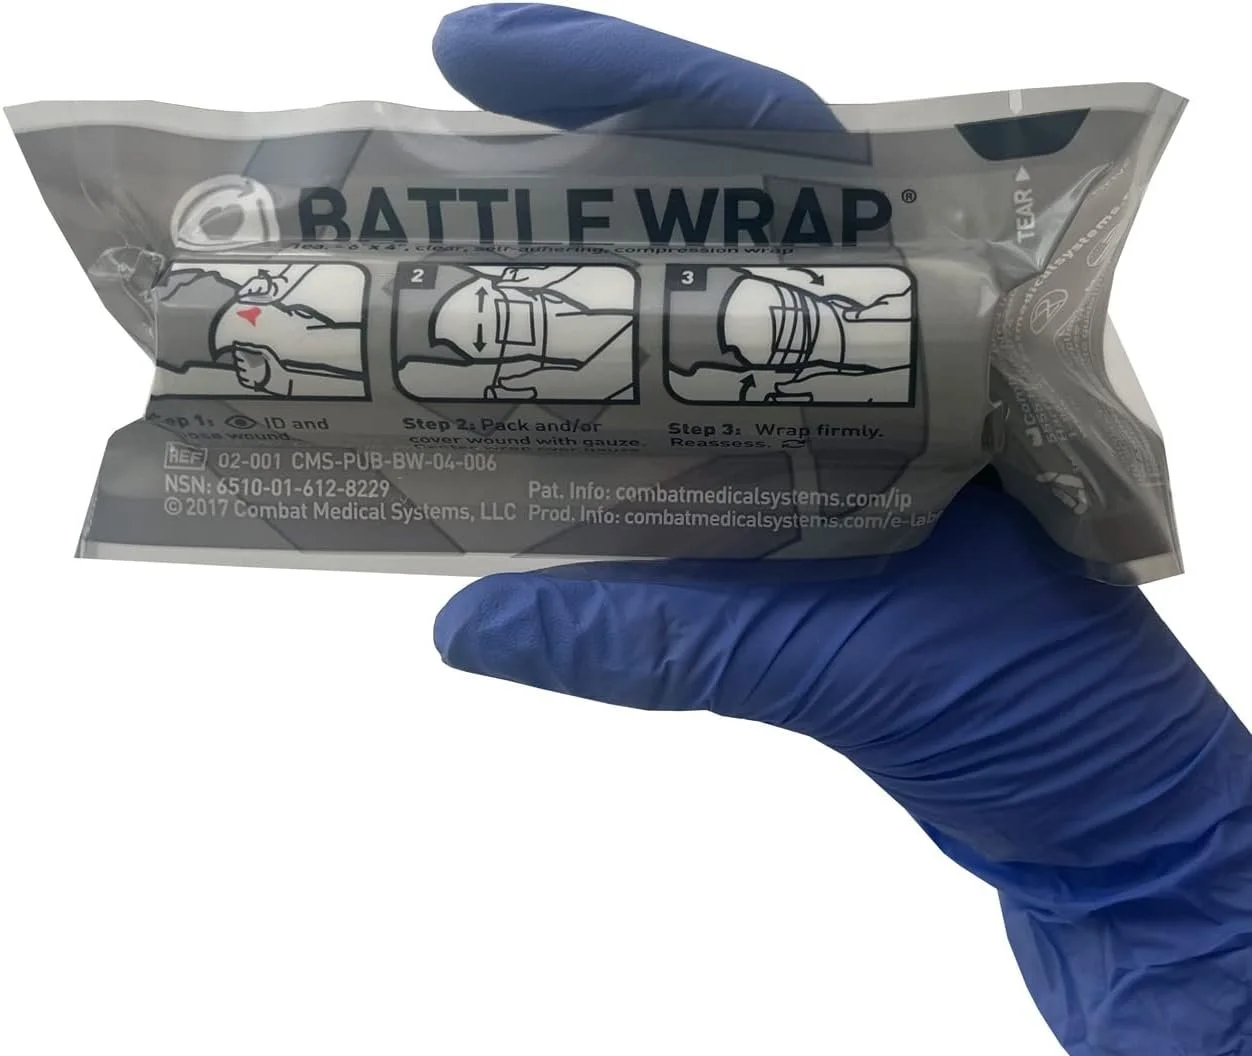
4. Trauma Dressing
Staying in the respirations portion of M.A.R.C.H., a trauma dressing is used to wrap over top of the wound which was packed. this applies more pressure and holds the gauze in place. However, the trauma dressing has a long list of uses. With enough pressure applied, it is possible stop major arterial bleeding in an extremity with a trauma dressing if you don't have a tourniquet on hand. You can fashion a splint out of your trauma dressing. You can secure impaled objects to minimize bleeding from removing or shifting the sharp object. My two personal favorite trauma dressings are the battle bandage from Safeguard Medical, or the ETD (Emergency Trauma Dressing) from North American Rescue.
5. Gloves
Gloves are a fairly straight forward item for your kit. If you don't know the person you are treating in the situation, it is perfectly acceptable to take the precaution of putting gloves on. This will help protect you from any disease you may catch from the list of bodily fluids you may have to deal with. An important thing to note is to use a light colored pair of gloves. This will allow you to see when you get blood on your gloves. Good colors to go for are white, tan, light blue, or purple. The biggest type of gloves to avoid are black. However, the most important quality of your gloves is that they are well build and will not break.
This list gives you a skeleton list of things that you need to be effective in a trauma first aid situation. Honorable mentions to add to this list are flashlight or headlamp, trauma sheers, and a hypothermia blanket. However, those things are less important than the five on the list.